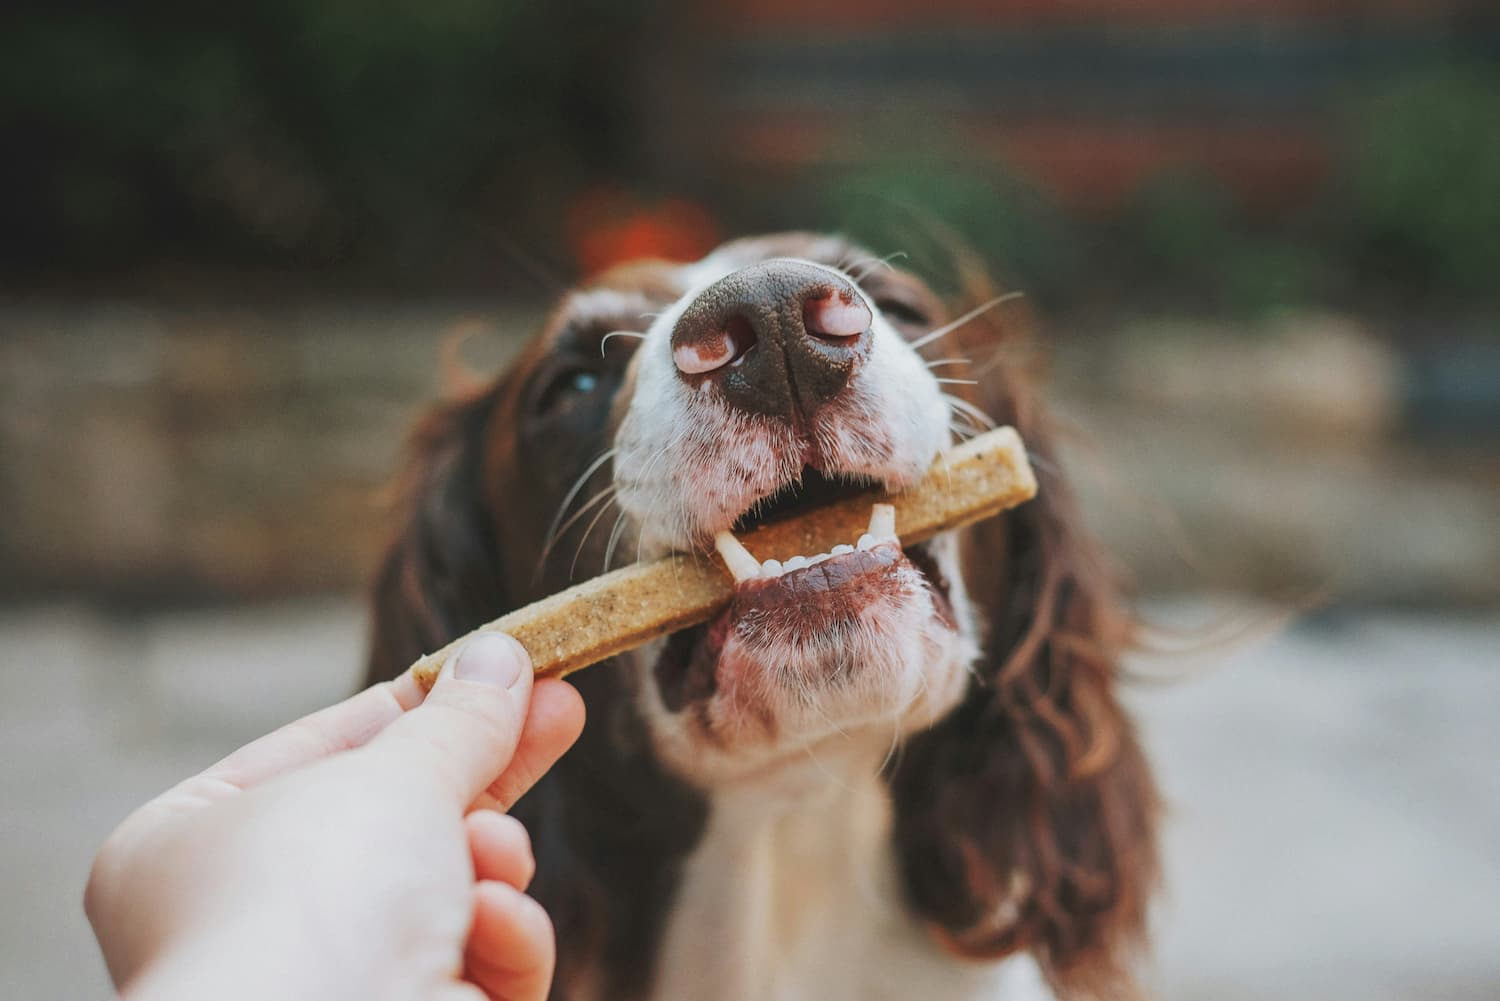
Dropping groceries, playing with the kids, or simply lounging on the couch – our lives can get busy. Yet, one often-overlooked pet chore is how to cut dog nails. Sharp, overgrown nails can scratch floors, snag on carpets, and even cause discomfort for your dog. In this post, we’ll explain how to trim dog nails step by step, why it matters for your dog’s health, and how to do it with as little stress as possible. Whether you’re asking how often to clip dog nails or where to clip dog nails on the paw, we’ve got you covered with practical tips and professional advice.
Why Regular Dog Nail Trimming Matters?
Regular nail trims are more than just a grooming task – they’re vital for your dog’s health and comfort. Long nails can alter a dog’s gait, putting extra stress on joints and even causing injury over time. Long nails can turn a sound paw into a splayed foot and reduce traction. Imagine walking around all day in shoes that are too tight – it’s painful! Overgrown nails can curl and dig into paw pads, leading to wounds or infections.
Moreover, overly long nails can affect your dog’s behavior and mobility. Dogs with uncomfortable feet might walk differently or be reluctant to run and play. In severe cases, unhealthy nails can lead to arthritis or chronic pain. Nail trimming also has a preventative aspect: with each trim, the nail’s quick (the blood vessel inside) recedes a bit. Keeping nails short helps the quick stay small and far from the tip, making future trims easier and less stressful.
How Often Should You Trim Your Dog’s Nails?
A common question is how often to clip dog nails. The answer varies by dog. Active dogs that run on concrete or asphalt may naturally file their nails down and need trims less often. In general, most dogs benefit from nail trims about once a month. The VCA Animal Hospitals advise that “most dogs need to have their nails trimmed approximately once a month”. Dogs that spend a lot of time on soft surfaces (grass, carpet) or are less active usually need more frequent trims, perhaps every 3–4 weeks.
A simple way to check nail length: watch your dog walk on a hard surface. If you hear clicking sounds as the nails hit the floor, or if the nails are visibly touching the ground when they stand, it’s time for a trim. If your dog’s nails have grown so long they are affecting how they stand or walk, don’t wait – trim them soon. Regular trims also keep the nail’s quick short, reducing the risk of cutting it.
Every dog is different, so observe your pup. Some breeds (like active terriers) may need clipping every 3 weeks; others (like labrador retrievers who walk on pavement daily) might only need it monthly. Establishing a routine – for example, checking nails every 2–4 weeks – helps. If you’re unsure about how often to clip dog nails for your dog, ask your vet or groomer for guidance. They can show you how much to trim and how to tell when nails are due for a cut.
Tools & Preparation for Dog Nail Trimming
Before clipping, gather the right tools and get everything in place. Here’s what you’ll need:
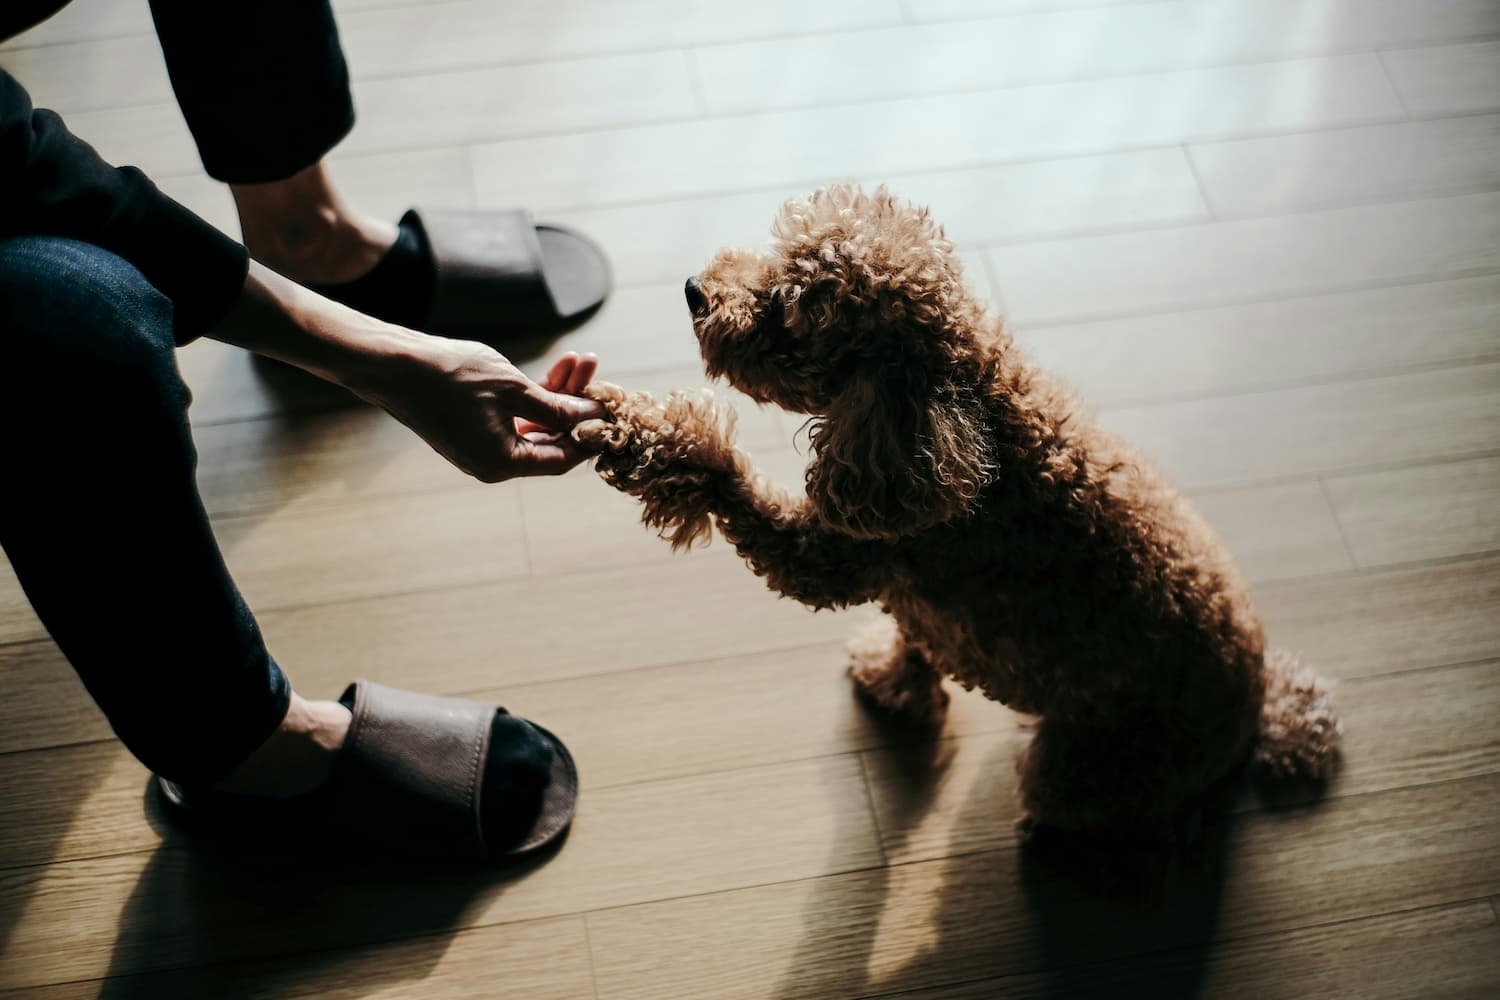
Prepare both yourself and your dog. It’s ideal to get your dog used to having their paws handled long before the first trim. Gently massage your dog’s paws daily while petting to build a positive association. Let your dog sniff the clippers or grinder (turned off) and reward them. Introduce the tools slowly: touch them to the paw, let your dog hear the clipper sound at a distance, then progressively get closer. (A clever tip: spread some pet-friendly peanut butter on a mat to distract and calm your dog while you handle their feet.)
Set up in a quiet, well-lit area where you can see the nails clearly. Many owners clip nails on a table or counter (with a non-slip mat) or on the floor with the dog lying between their legs. Whatever position works best to keep your dog steady is fine. Having everything within reach (trimmers, treats, styptic powder) means you won’t have to pause mid-trim.

How to Trim Dog Nails Step-by-Step?
Once you’re ready, follow these steps carefully. It’s best to trim slowly and steadily, checking often to avoid the quick.
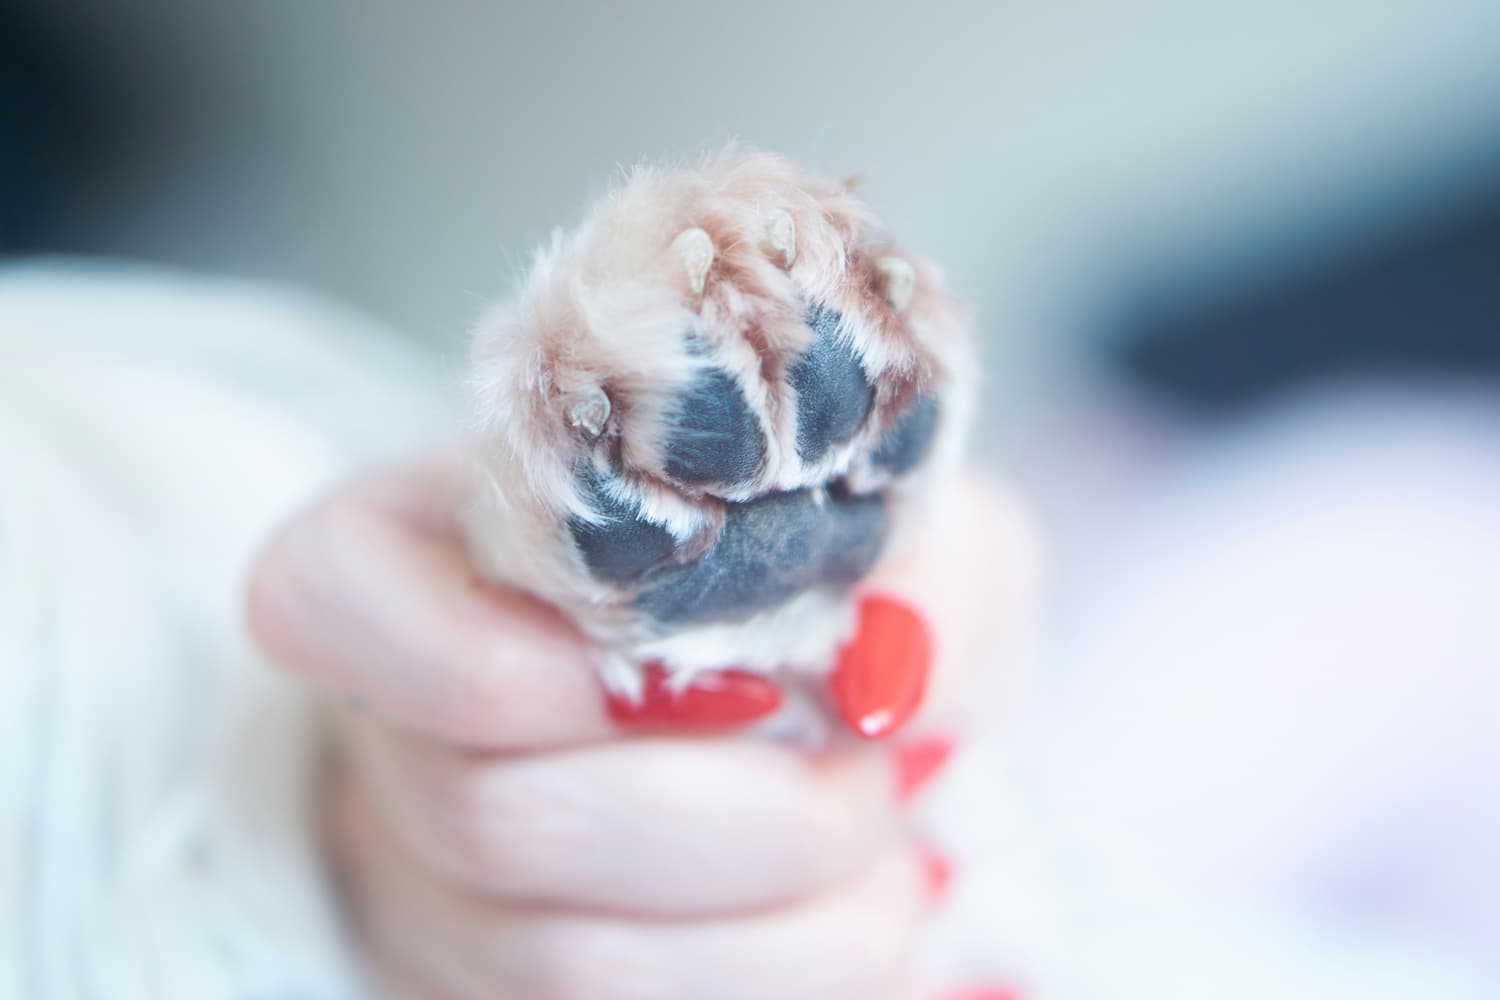
1.Inspect the nail and locate the quick. Look at each nail before cutting. If your dog has light-colored nails, you’ll see a pinkish quick inside. In dark nails, the quick is hidden; trim very conservatively – only a tiny bit at a time. The ASPCA recommends trimming nails at a slight downward angle (from top to bottom) and “insert a very small length of nail” through the clipper to cut off just the tip.
2.Position the paw and extend the nail. Hold your dog’s paw firmly but gently. Press the toe pad to extend the nail (push up on the pad with your thumb and forward on top of the toe with your forefinger). Make sure no fur is covering the nail. The nail should be clearly exposed and extended for a good cut.
3.Cut off the tip. Using your clippers, snip the nail tip cleanly. If you’re using scissors-style clippers, position them around 2-3 mm from the quick; if guillotine style, fit the nail through the hole and squeeze firmly. Cut straight across the curve – avoid cutting from side to side or at a blunt angle, to maintain the nail’s natural shape. Take off only a little bit (just 1–2 mm) at a time. If you see a small oval or circle of white nail (the quick) appearing, stop there.
4.Check the angle and smooth edges. Aim to trim so the nail no longer touches the ground, but don’t overdo it. The trim should follow the nail’s natural curve and slope downward slightly toward the tip. The AKC step-by-step method likewise says “Clip only the tip of the nail, straight across”. After clipping, use a nail file or emery board to gently smooth any sharp or jagged edge. This rounding step makes nails less likely to scratch.
5.Trim the dewclaws. Don’t forget the dewclaws on the inner side of the paw – these don’t touch the ground and often overgrow. Carefully snip them just like the other nails.
6.Pause and praise. Give your dog a treat and gentle praise after every few nails. If your dog seems stressed, take a break, do one or two nails, then stop for the day. You can always resume later. It’s better to trim nails gradually than to rush.
7.Stop bleeding if needed. If you accidentally hit the quick, your dog will likely yelp and you’ll see blood. Apply styptic powder or cornstarch with light pressure for a few seconds to stop bleeding. Keep calm and clean – if bleeding persists, contact a vet.
With the paw held gently, a small amount of nail is clipped off at a time. Trimming straight across or at a slight angle helps avoid cutting the quick.
As you trim, always position your clippers or grinder correctly. The ASPCA notes that the clipper should cut “from top to bottom at a slight angle, not side to side,” trimming only the dead outer part of the nail. In practical terms, think of cutting horizontally across the tip of the nail – whether you use a 45° downward slant or keep it flat, the idea is to follow the nail’s natural contour. For grinders, gently file down the tips and then taper the edges.
By the end, your dog’s nails should be short enough that they don’t touch the floor when walking. Well-trimmed nails help prevent discomfort and protect your floors and furniture. If any nails are still too sharp, simply give them another light file.
Conclusion
Trimming your dog’s nails isn’t just a grooming chore – it’s a health care step that keeps your pup comfortable and active. With the right preparation, tools, and technique, you can safely learn how to cut dog nails on your own. Remember: trim a little at a time, watch for the quick, and reward your dog for good behavior. Over time, both you and your dog will grow more confident. If ever in doubt, professional groomers and veterinarians can demonstrate or help with the first few trimmings. A little practice and patience ensure that nail trimming becomes a positive routine for you and your furry friend – preventing problems and keeping those paws happy and healthy.
FAQ
What angle do you cut dog nails at?
Cut dog nails at a 45-degree angle, slightly slanting away from the paw. This angle follows the natural shape of the nail and helps avoid splitting. Take small, precise cuts to stay safe.
How to calm your dog for nail cutting?
Start with short sessions and lots of treats. Touch their paws daily to build tolerance. Play calming music or use pheromone sprays if your dog is anxious. Stay calm yourself—dogs pick up on your stress!
Is it neglect to not cut your dog’s nails?
Yes, long-term neglect of nail trimming can be considered neglect. Overgrown nails cause pain, mobility issues, and infections. Regular trimming (or seeking professional help) is essential for your dog’s well-being.